Wednesday, March 29, 2017

Notes to Self: When Sewing with Sheer Slippery Fabrics...

The advent of the internet has ushered in an easy source of answer to almost any questions. When I am sewing something and I encounter a problem, I just use google to look for guidance. Of course, one has to be discerning, too because not everything online is necessarily accurate. So this post today is a summary of techniques I have used when sewing with sheers and will serve as my reference for next time.

Pattern Layout


I use one of two methods:

Spraying the fabric with starch spray stabilizes it for cutting. However, make sure to test a small piece first to see how it will affect your fabric. I hesitate to use this on more expensive silk types but have tried it on polyester fabrics that where washable and it worked well. 


Another alternative is to lay down the fabric on a large piece of tissue paper or gift wrapping paper before cutting. I have used this method on my silk fabrics. I used my finest pins to secure the fabric to the underlying paper. 

Marking

This is one of the steps I used to struggle with. I can't use chalk markers or tracing papers on some of my fabrics because they are not washable and I didn't want to leave any permanent marks. So that leaves me with no other option but to use tailor's tack. However it is not as easy if the fabric is slippery. So I figured out a way to do this with the help of an iron-on, tear-away stabilizer.

I have this brand called Totally Stable. 


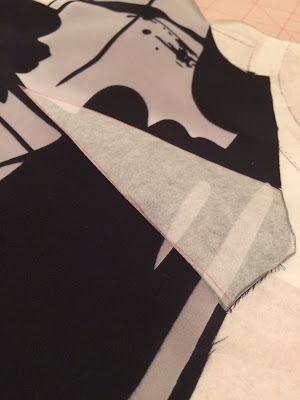
This example shows how I used the stabilizer to help me trace the marking for the bust dart. 
I traced the dart shape from my pattern to a piece of Totally Stable and cut it out accurately. I then ironed it lightly on the fabric. The goal is not to permanently fuse the stabilizer but just to adhere it enough that it won't shift. 

Then I thread-traced around the perimeter of the dart. 

See how the darts have been transferred to the fabric without using any staining markers?

Then I just folded the dart by aligning the thread guides. 


Seams

More often than not, sheer fabrics don't take to heat too well so it is sometimes tricky to press seams open. If French seaming has not been used and seams need to be flat and open, an alternative is to underline the fabric and use catchstitches to sew the seam to the underlining. 


Two photos above show a silk blouseweight woven fabric underlined with silk organza. 

If underlining is not an option, finishing the seams by serger or sewing machine is something to consider. 


I used wooly nylon thread on both upper and lower loopers of the serger to achieve a softer look. Claire Shaeffer mentioned in her fabric guide book that doing this prevents thread imprints that can be visible on the right side. 

 An alternative to serging is using the overcasting feature of a sewing machine. In my Juki HZL F600 no. 8 is perfect for lightweight fabrics as seen below.


Hem

For narrow hems, there are two options: 
1. Sew a guide with the machine using long machine stitches and looser tension (to make it easier to remove later on). I use this guide to fold accurately . 

2. Use a strip of fusible sewable web like Heat n' Bond Lite along the hem seam. 


Finally, the basics:
1. Use the finest universal needle for the sewing machine (60/8 to 70/10).
2. Use shorter stitch length. 
3. Keep tension loose and balanced.
4. Ideally use mercerized cotton thread because according to Claire Shaeffer, it is weaker than silk fabric and will break at stress points before the fabric tears. 

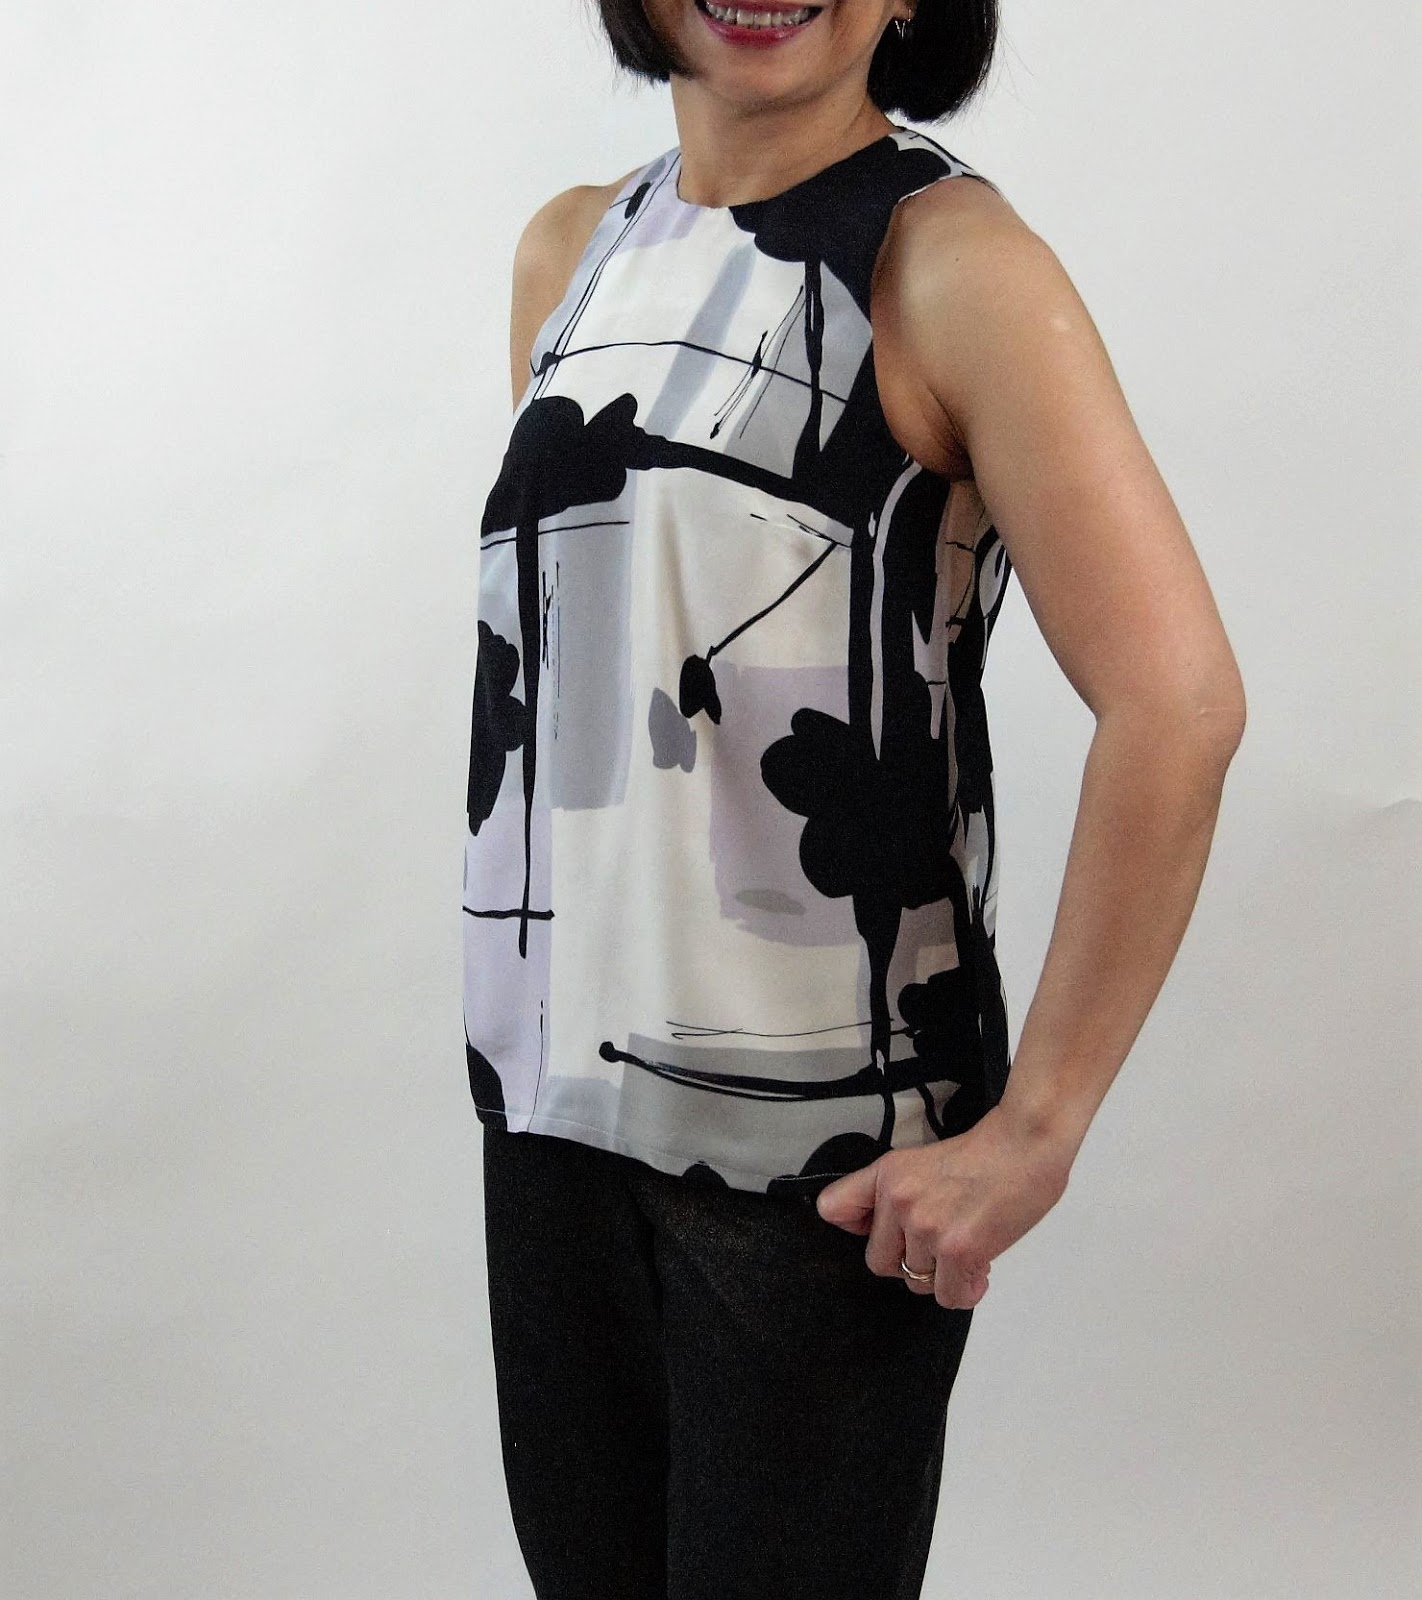
Below are samples of some silk tops I have sewn:


Sunday, March 26, 2017

Jalie 3248 Drop Pocket Cardigan

I have had this pattern in my stash for a while now but just got around to sewing it in time for the Sudoku Wardrobe contest I am participating in. This is what I love about Jalie. There is no guessing game as far as sizing is concerned. Once I was able to determine the Jalie size that fit me, I was able to rely on that size for all other Jalie styles. So even though I have never sewn this particular style, I forged ahead without making a muslin.

This is my first version. I used a border print rayon jersey purchased from Emma One Sock. The spots you see make up the border of that fabric. 

I love how the drapey fabric works so well with the pocket feature.

My second version was made of a thicker sweater knit. I shortened the bodice and sleeves. 
I'm not very enamored with this version because the thicker fabric did not drape as well. It looked more like the classic cardigan that one usually pairs with a shell in twin sets.

My final version which was my entry to the Sudoku Wardrobe contest was made of linen knit. 
It was my first time with this fabric and now I understand why it is sought after. It has 15% widthwise stretch and none lengthwise. It drapes well and because it is a bit sheer, it is perfect for this pattern which calls for a double front layer. I also sewed it at the original length because I thought the longer style looked better. 
This pattern was a bit of a fabric hog because of the way the pocket construction was designed. So I had to find a way to make the pieces fit because I did not have enough of the linen knit. 

Hence I cut the back pieces as two instead of along the fold. 

See how nicely the pockets drape? 

Here's a close-up of the back neckline which was nicely finished with a strip of binding. I used the coverstitch to sew the binding in place.

This neckline from the sweater knit is finished with the looper thread of the coverstitch showing on the right side for an added decorative touch. 


Here are the three versions side by side. 


And below are three ways I've styled the linen knit version. 


A detailed review of this pattern can be found here.


Wednesday, March 22, 2017

Mezzaluna Bag

I haven't mentioned it here but I have actually joined the Sudoku Wardrobe contest hosted by Pattern Review. The challenge entails creating a grid consisting of 16 squares  populated by 4 tops, 4 bottoms, 4 accessories and 4 footwear. By combining the items horizontally, vertically and diagonally, one is expected come up with at least ten outfits. One is allowed some bonus items, that is six of the items do not necessarily have to be sewn. For me, that meant four pairs of shoes and two pairs of pants that I did not have to worry about. So far I have posted about the two tops I have finished. Today, I'm posting about one of the four accessories I have sewn which is a cute little bag.


I was inspired by the "Mezzaluna" bag created by Jenny Rolfe and published in her book "Fabulous Bags to Stitch and Make." The bag was so named because of the shape. I initially tried to post a picture of Rolfe's bags as shown in her book but I realized it might be a violation of copyright issues. 

To make this bag, I had to "create" the main fabric first by fusing strips of sheer fabric scraps. I used fusible fleece as my base to simplify things instead of using felt backing and fusible webbing as suggested in the book.


Since I did not have the skill to do free motion machine quilting, I just played around with the decorative stitches on my sewing machine. I used embroidery thread to add some sparkle. 


I traced the bag template on the wrong side of the quilted fabric. The template can be found in the book but I had to enlarge it by 200% to achieve the desired size of the finish bag.

Shown above are the front and back bag pieces.

I cut the lining pieces from some fabric leftovers.

For the bag base, I used leftover faux leather fabric that I used to sew my jacket (which I haven't reviewed yet).


Construction was pretty simple. I sewed the front and back pieces to the base piece before sewing the side seams.

To attach the lining, the two pieces were simply sewn together on the top edge using narrow zigzag stitches.


And comes the fun part! Making the handles and adding some embellishments.


Handle was made of a clear vinyl tube purchased from Lowes. Size of the tube is totally optional and depends on one's preference. I just had to make sure the wire and beads would easily fit inside the tube. 


I couched a piece of string to make the heart tag.


I really love how my bag turned out. It's a fun special occasion bag that I can use to carry my cell phone and a few other little accessories! Next time though, I might add a magnetic closure.

Here are some modeling shots featuring outfits created for my Sudoku wardrobe.