Thursday, April 26, 2018

Simply Silk, A Cynthia Rowley Top (Simplicity 1366)


If you are looking to sew something that will bring quick gratification, this is the pattern to use. 
I have just posted a review of Simplicity 1366 at the Pattern Review website.

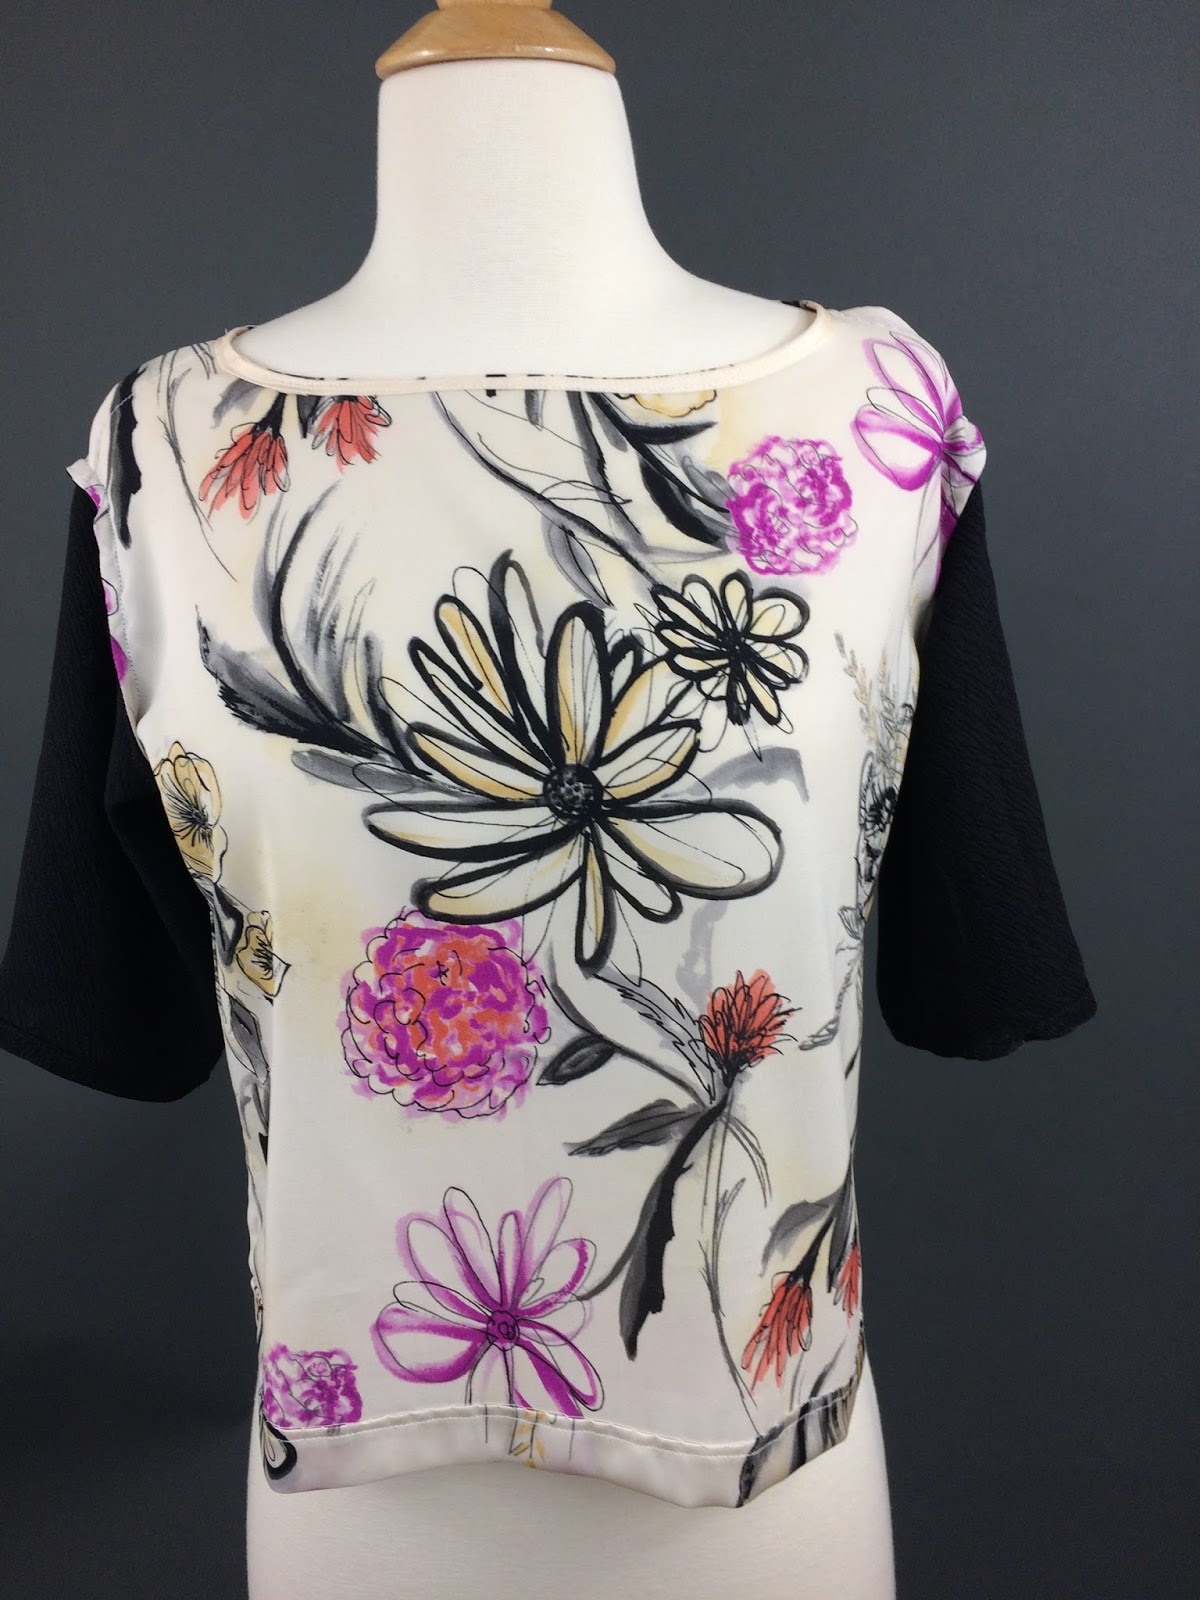
I used silk fabrics for this project. 

It can't get any simpler than this top pattern. There are only four pieces--front, back, sleeves and neck facing. The simplicity of the design makes it perfect as a blank canvas for design modifications. 


As I only had one yard left of the silk chiffon left from a previous project, I could only fit the front and back bodice pieces which were both cut on the fold. The sleeves were cut from a solid black textured silk fabric. 


\


Because my fabric was lightweight and semi-sheer I opted to finish the seams using French seams. The 5/8" seam allowance made the process super easy. I have sewn some Indie blouse patterns where the seam allowance was only 3/8" and using French seams in those cases was challenging unless I widened the seam allowance. 


When I was pining the neck facing to the neckline, it looked like the facing was too wide for the neckline. The trick is to just pin along the markings (shoulders/notches, centers) and leave the rest free. Because the facing had more ease, I made sure to sew with the facing near the feed dogs. That way I was able to ease it in while stretching the top fabric a bit. It's similar to easing in sleeves while sewing in the flat. 

Here is the finished neckline.


For the sleeve hems, I used a 3/4" allowance after testing the top and determining where I wanted the sleeves to hit. I used a narrow hem.

For the bottom hem, I hand stitched a blind hem.

Here are some more pictures of the finished top. I'm quite happy with how it turned out!


Tuesday, April 24, 2018

My Woven Knit Tee


Since reading Kathryn Brenne's inspiring post on creating a Luxurious Tee at the Emma One Sock website, I have always put that project on my sewing bucket list. I have finally taken some baby steps to scratch that off the list by making my own "poor woman's" version using a more affordable rayon matte jersey and a gorgeous polyester organza. 

Kathryn used a pattern intended for a knit and adjusted it to suit a woven fabric. I did the opposite because I did not have a suitable knit pattern in my stash. So I used a pattern for a woven top and found that Simplicity 8545  (also released as D0884) worked really well. I wrote a complete review of the pattern here.


It was my first time combining a woven and knit fabric in a pattern that called for just woven fabric. I think the characteristics of my matte jersey worked well for the project--it had minimal stretch (25% width wise, 15% lengthwise), had substantial thickness and good drape. When I sewed it with the woven poly organza, there was no rippling along the seams (which happened before when I tried it with some flimsy knit jersey and polyester crepe). My knit fabric was 100% matte rayon purchased from Emma One Sock.


My woven fabric was a polyester organza made of two layers of sheer fabric fused together with loose threads scattered in between and some dimensional floral appliques sewn throughout.

Here are some construction notes on sewing woven and knit fabrics together which helped me finish the garment without having to unpick seams:


I used an elastic stay tape on my shoulder seams to stabilize the rayon fabric.

 
I serged the seams of together instead of separately because I intended to press the finished seams to one side--towards the rayon side (because my organza was a bit sheer).

To keep the shoulder seams permanently pressed to one side, I sewed it down with small zigzag stitches. 
For the neck binding, I used the rayon jersey. 

There was no need to fold in the raw edge because it did not ravel. That made the process quicker and simpler. 

I used tiny zigzag stitches. 

To sew the binding from the right side of the fabric, I used my walking foot to ensure even feeding. It also made it easier for me to see where I was sewing as I wanted the stitches to be as close to the  neck seam as possible. The visible stitches on the binding itself were basting stitches. 


To finish the hems, I used blind hem stitch instead of the usual coverstitch hem.


I thought the blind hem stitch looked better and dressed up the tee a bit.


As for the sleeves, I attached them on the flat instead of the usual set in for woven garments. 

So I am quite happy with how my project turned out! I plan to make more of this using some fabric stashes! As for the pattern itself, it was simple and easy to modify so I highly recommend it!

Here are additional views of the top.